← Back to Tutorials
Create your own template in MacDraft 7
Templates are excellent for anyone who wants to use a particular style of page/sheet for many different drawings. For example, you can create a template with a frame that shows you company information, the job title, scale, page number, what ever you want and have this page open automatically whenever you launch MacDraft. Another amazing thing about templates is that any work you do will not save over the template file, it will create a new document meaning that your template will be ready to use for your next drawing too!
What We Will Learn
In this tutorial we will be learning how to create our own template files using the following skills:
- Page Setup – Including Orientation and page size
- Basic Drawing Tools – Including lines and rectangles
- Alignment – Including align to page
- Smart Snap
- Text creation
Step 1 - Page Setup
Decide on the page size you want to use. For this tutorial we will use A3 with a Landscape orientation.
- Run MacDraft up and choose a new Blank Document
- Once the blank document has opened go to the File menu and choose Page Setup... In here you can choose the page size and change the orientation of the paper. We will be using A3 and a Landscape orientation. Make a note of the Paper Size (297 x 420 mm) for later.
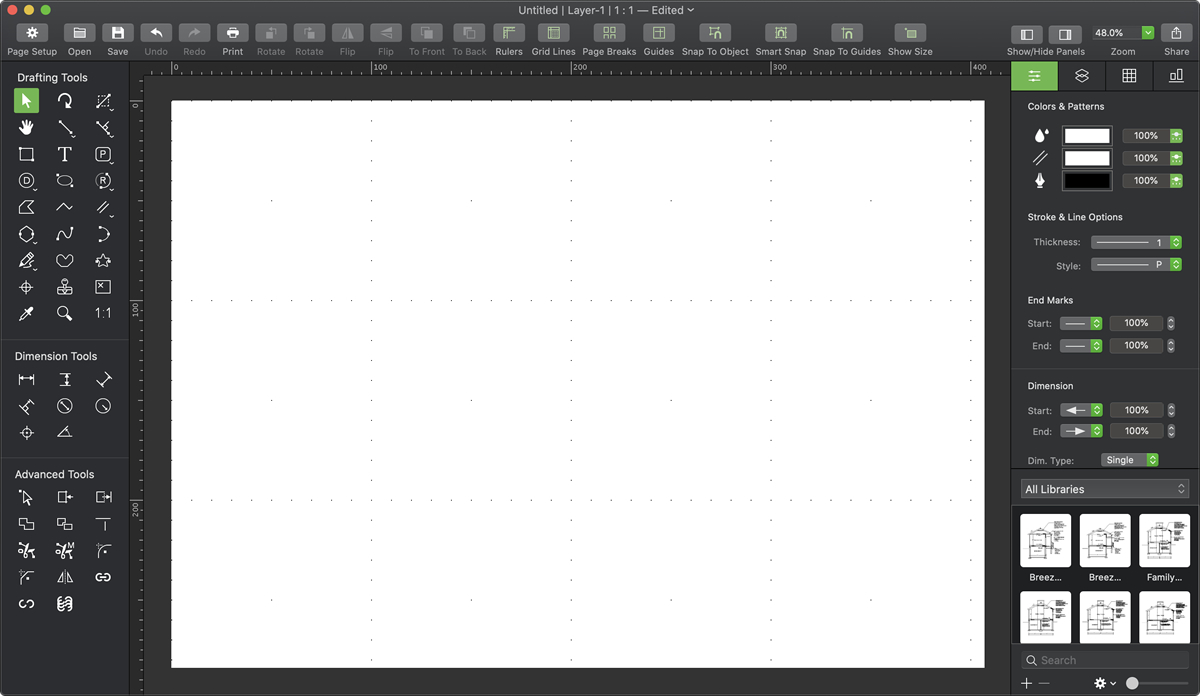
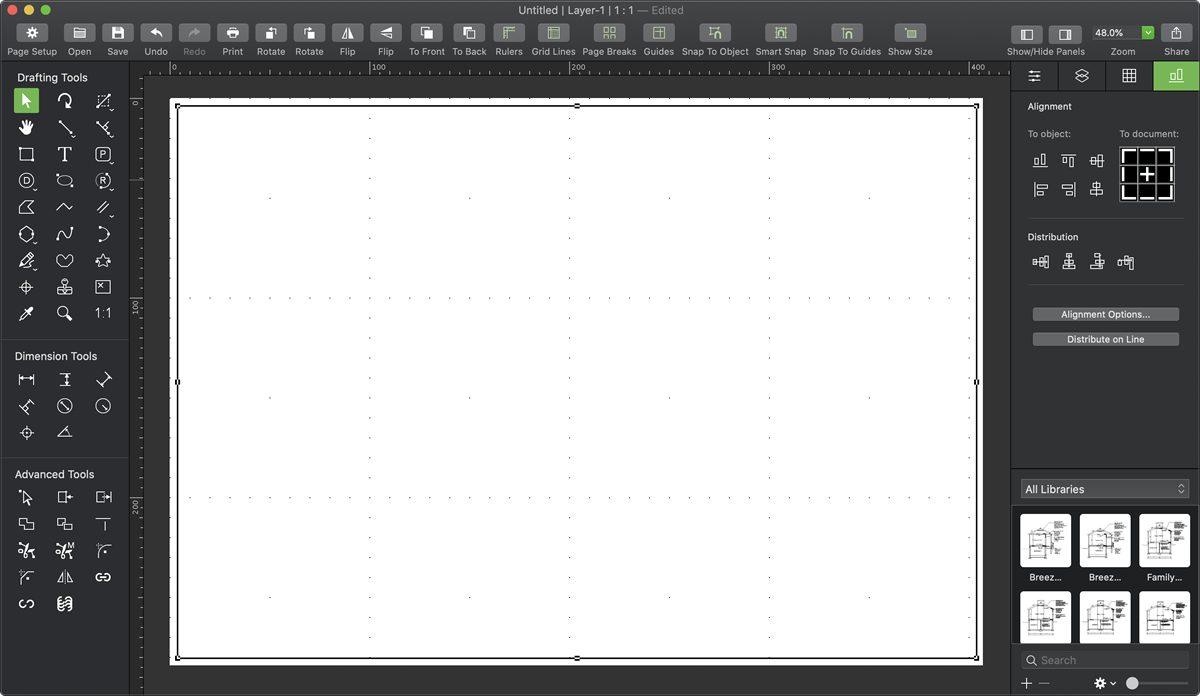
- With the page set up complete press OK to see your drawing space now at A3 Landscape.
- MacDraft will default new documents to be at 1:1 scale. Lets leave this page set to that and treat it as the correct size.
Step 2 - Basic Drawing Tools
With the page at the correct size lets create a frame around the outside of the document and align it correctly. There are 2 different methods to use the rectangle tool, you can either double click to type in the exact dimensions you want OR you can draw the shape manually and resize it. We will discuss both below.
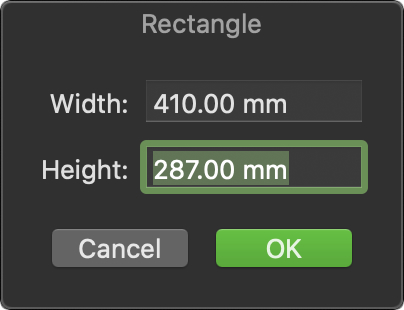
- Select the Rectangle tool from the Drafting Tools section on the left panel. Lets draw a rectangle 20mm smaller than the page size to 277 x 400 mm (Note: Depending on your printer margins, you may need to change the rectangle size to fit inside the page). With the rectangle tool selected, double click in the document and type in those dimensions.
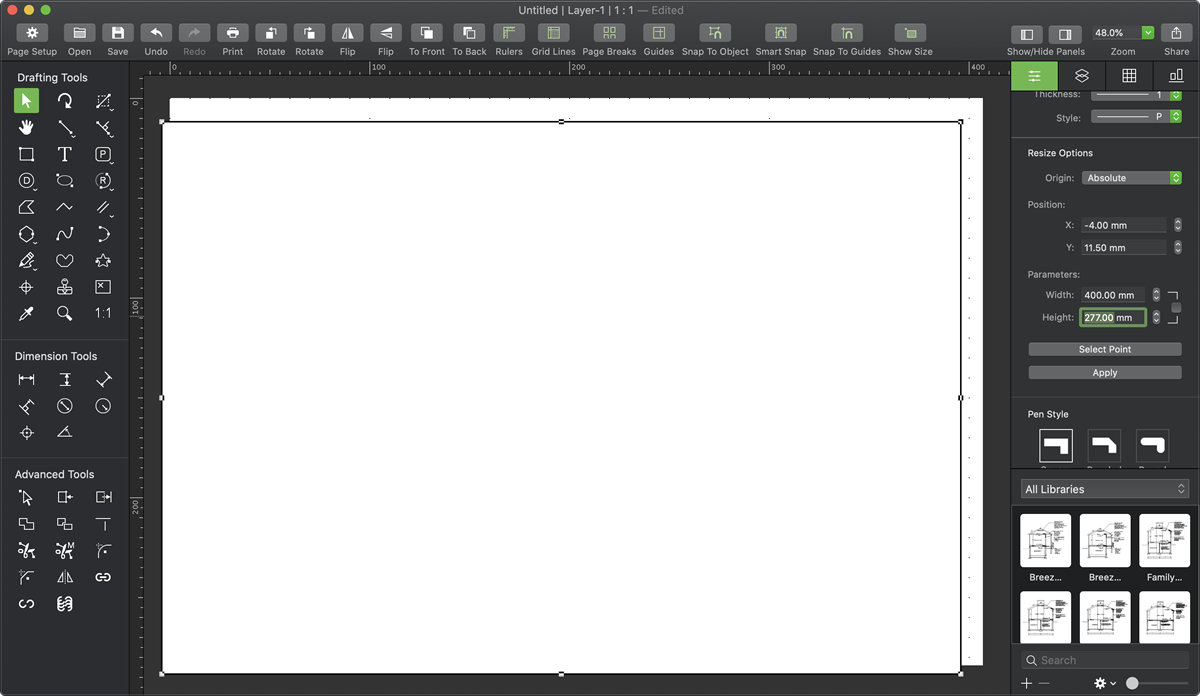
- Click OK and the rectangle will be placed in the document. (It may be placed in a strange place on the document, but don’t worry, we will align it later). Another way to create this is to select the Rectaangle tool and manuallly draw the shape by clicking and dragging until it is the right size (or close to). You can then change the size of the rectangle in the right panel to be the correct size.
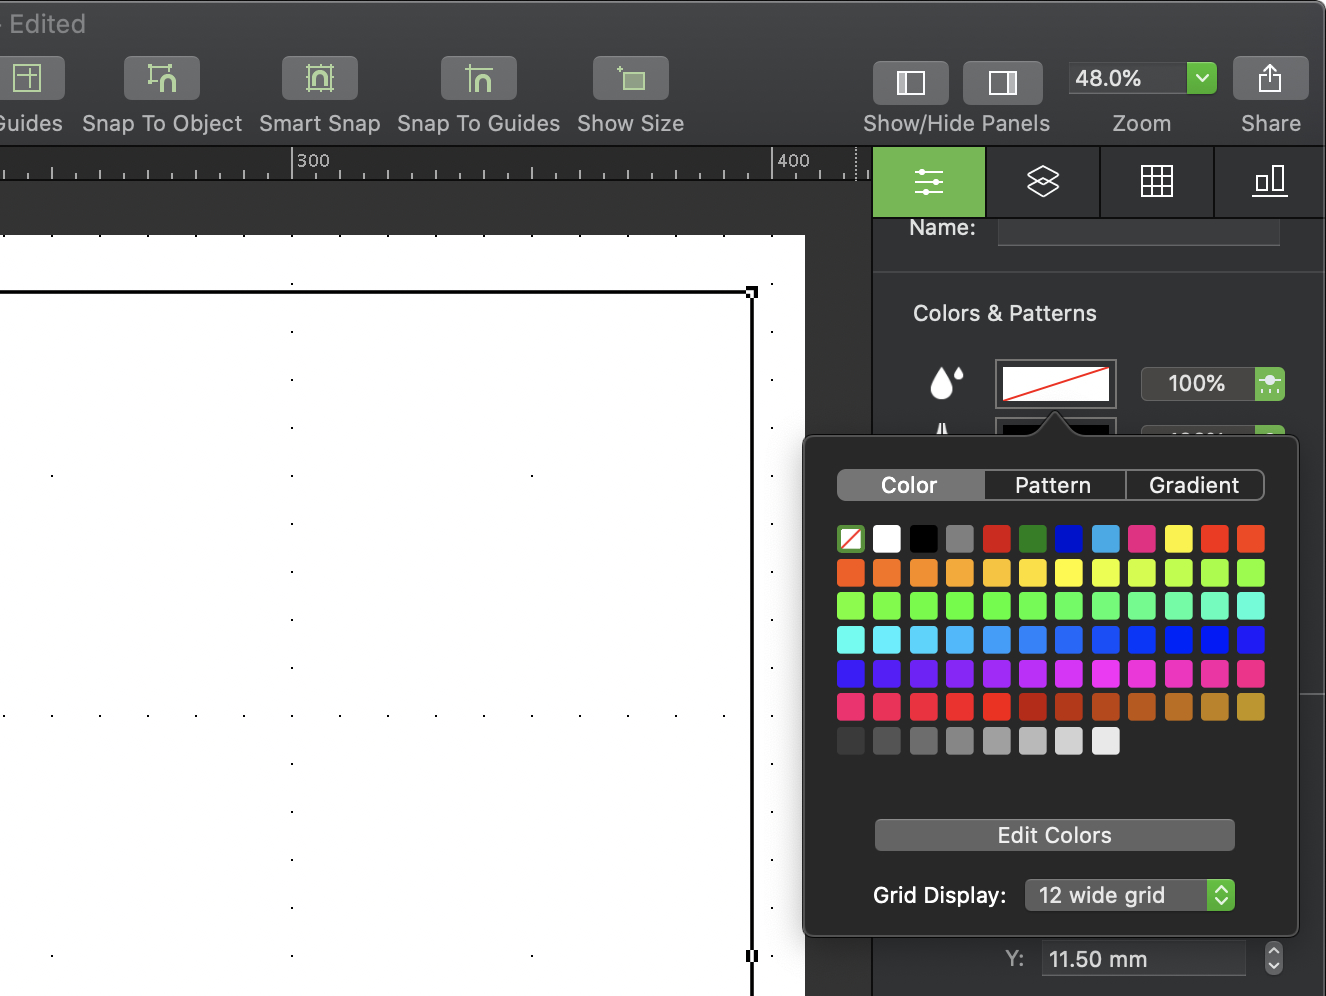
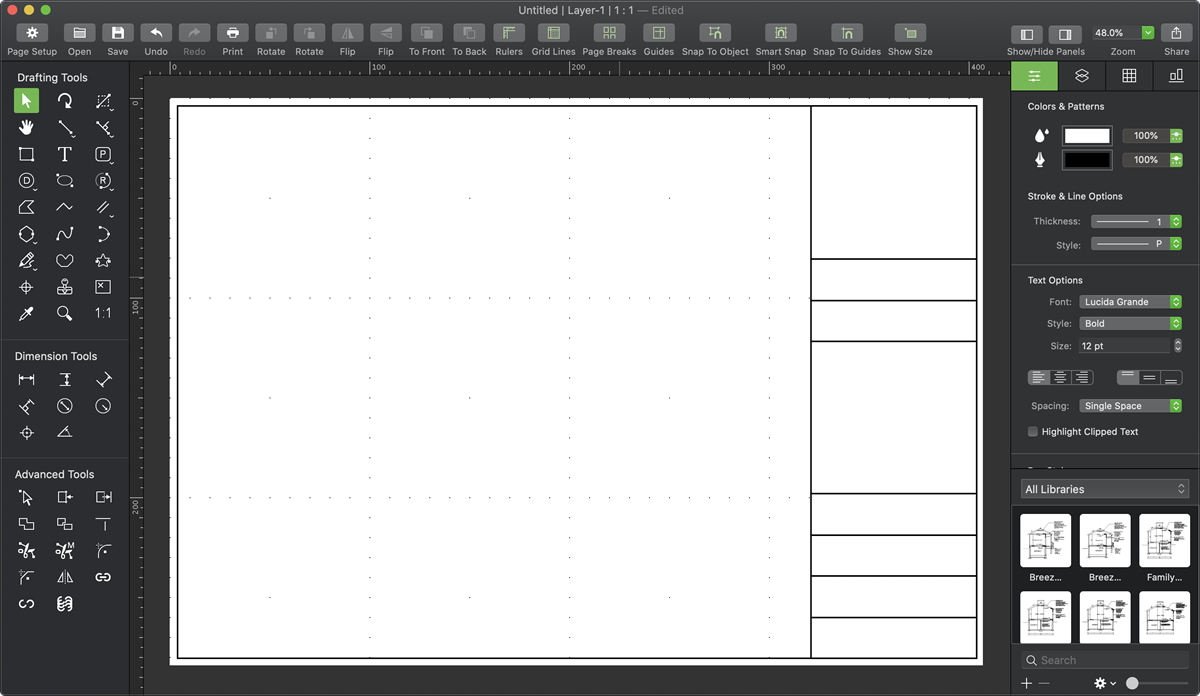
- With the rectangle drawn we can now remove the fill color. Make sure the rectangle is selected and go to the Colors and Patterns section of the Properties tab in the right panel.
Then click the fill color well and choose no fill.
Step 3 - Alignment
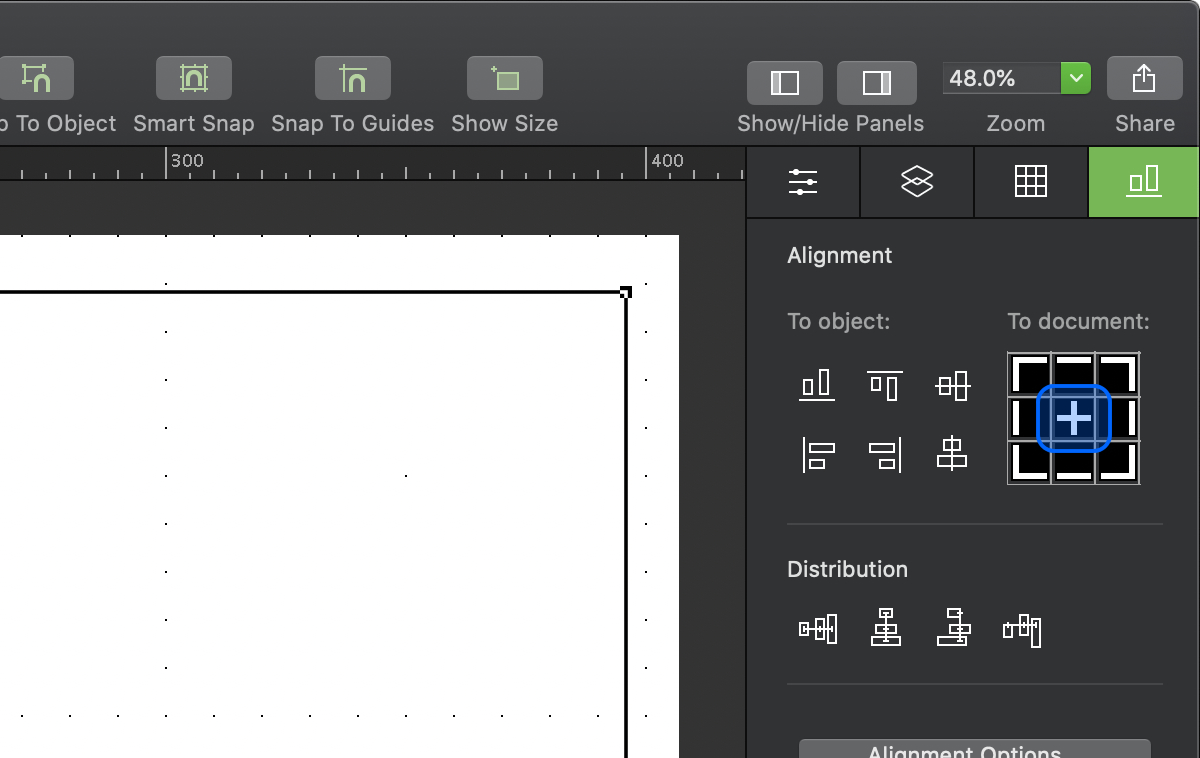
- This is a very quick step but an important one. Select the rectangle and go to the Alignment tab - it is the last section in the right panel.
- The alignment tools allow you to align objects to one another based on different edges and verticies. I addition you can also align to the document and that’s what we’ll be doing here. Click on the + (plus) symbol in the To document section to align the rectangle to the centre of the page. We now have a rectangular frame equally positioned in the center of the document (depending on the rectagle size you used).
Step 4 - Using Smart Snap to create title blocks
Smart Snap can be found in the Toolbar at the top of the MacDraft window. Turn this option on (you’ll know its on as the icon will be green).
Smart Snap allows us to draw shapes such as lines and rectangles and literally snap them together. This makes it very easy for us to create our title blocks and a degree of personality to our template.
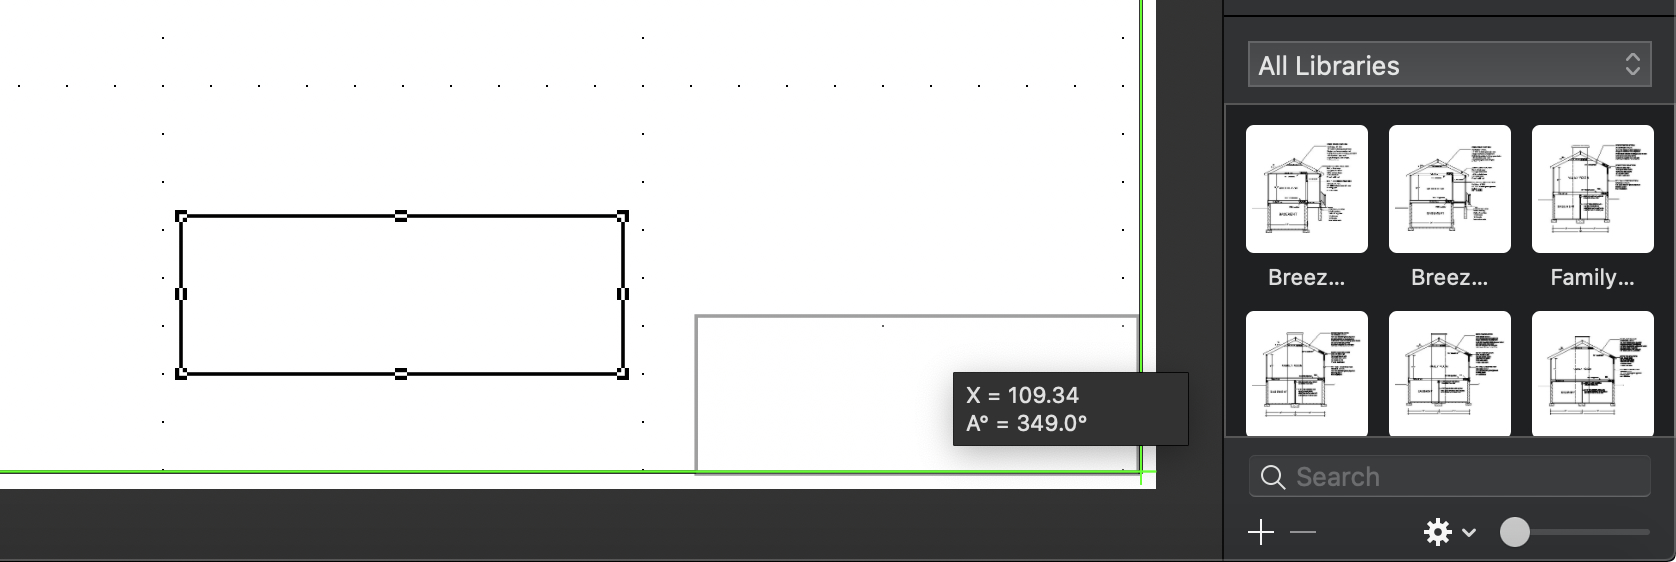
- Use the rectangle tool to create a rectangle then drag it towards the bottom right corner of the frame. You will notice temporary green lines appear, these lines show you what you are snapping to.
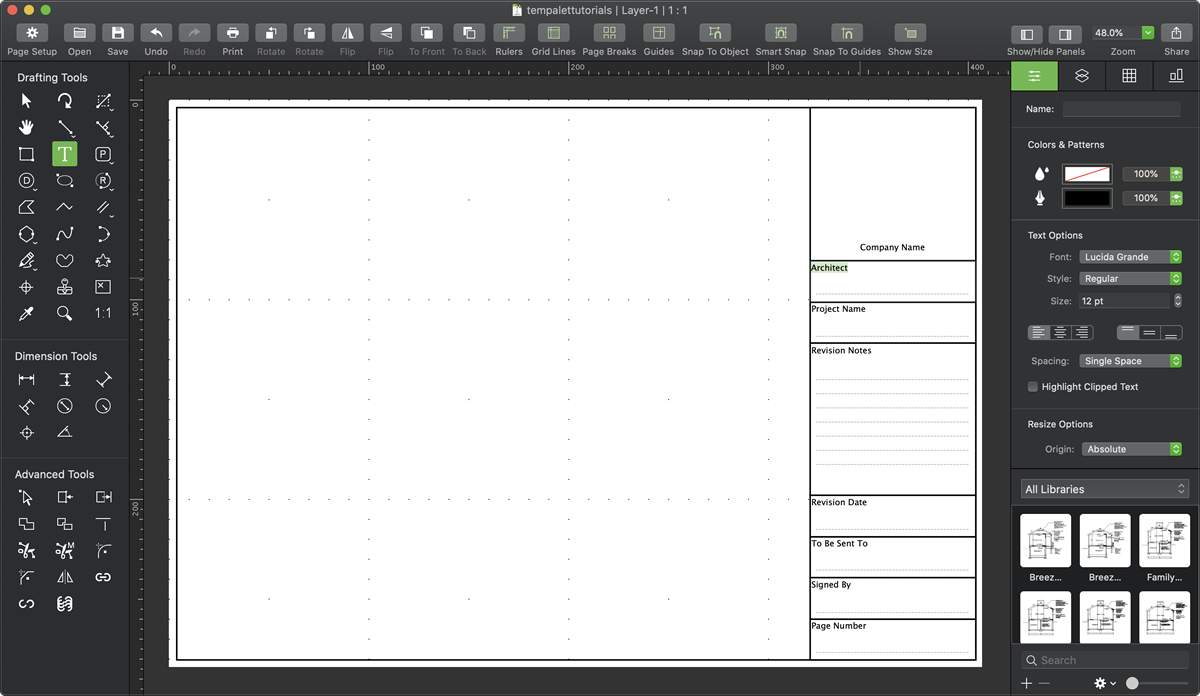
- Repeat this process to add a title block for each of the bits of information you would like on your template. Experiment with the blocks in different positions, shapes and sizes. We have left a large one at the top for a company logo.
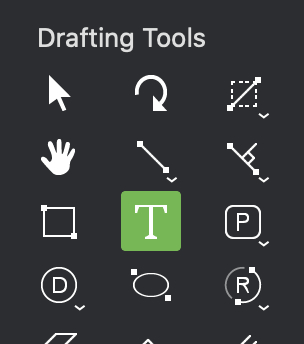
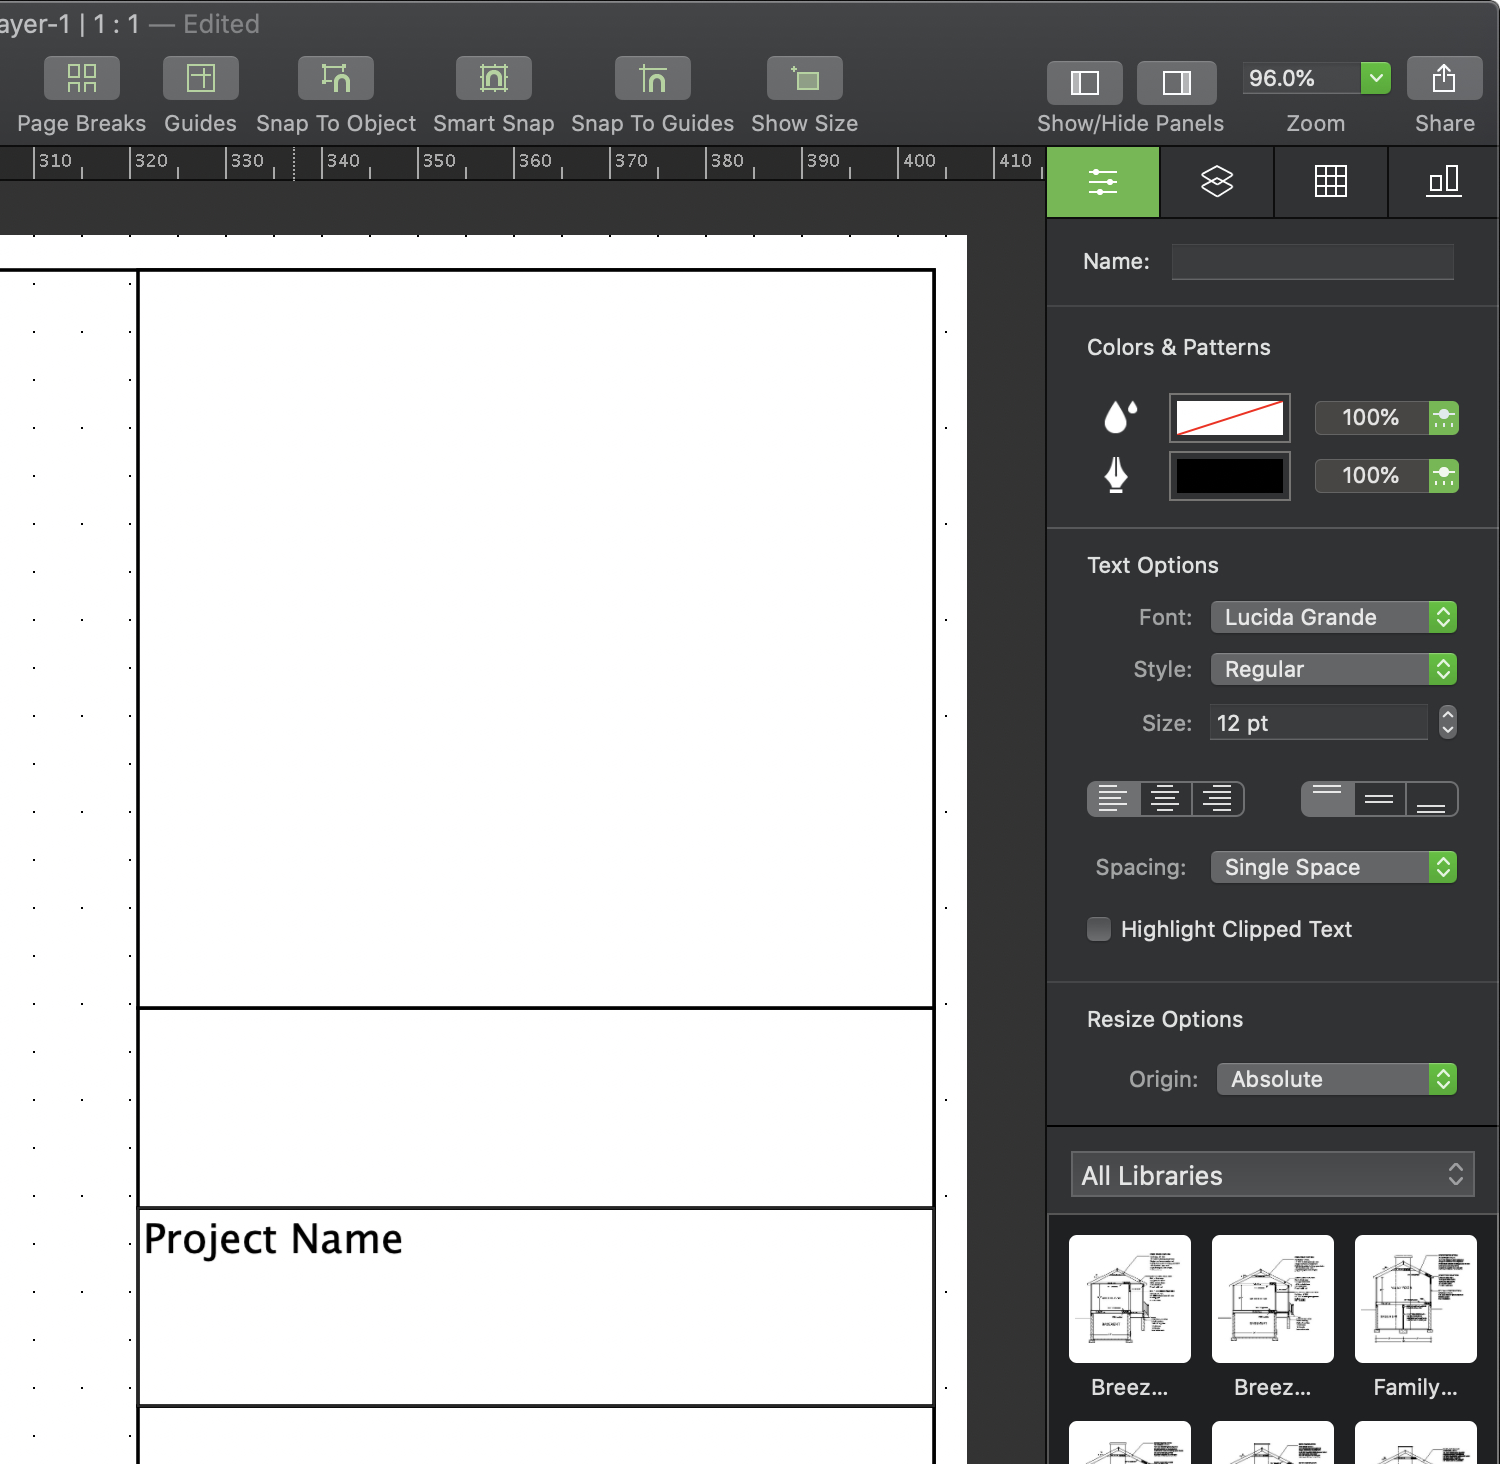
Step 5 - Adding text
Text allows you to convey what each of the blocks represent. This could be anything from your company information, to project details, to simply the page number. The Text tool is found with the Drafting Tools in the left panel.
- Select the Text tool and then click and drag out a rectangle. This will place a text box and allow you type within it. I have made the text box the size of one of my blocks and entitled it ‘Project Name’.
- Repeat this process to add a title block for each of the bits of information you would like on your template. Experiment with the blocks in different positions, shapes and sizes. We have left a large one at the top for a company logo.
Step 6 - Adding a logo
Give your template that professional edge by adding your company logo to it. There are a couple of ways to do this. The easiest way is to have the image (JPEG or PNG) on your desktop and simply drag it into the document. You can also go to File > Import Image then select your image.
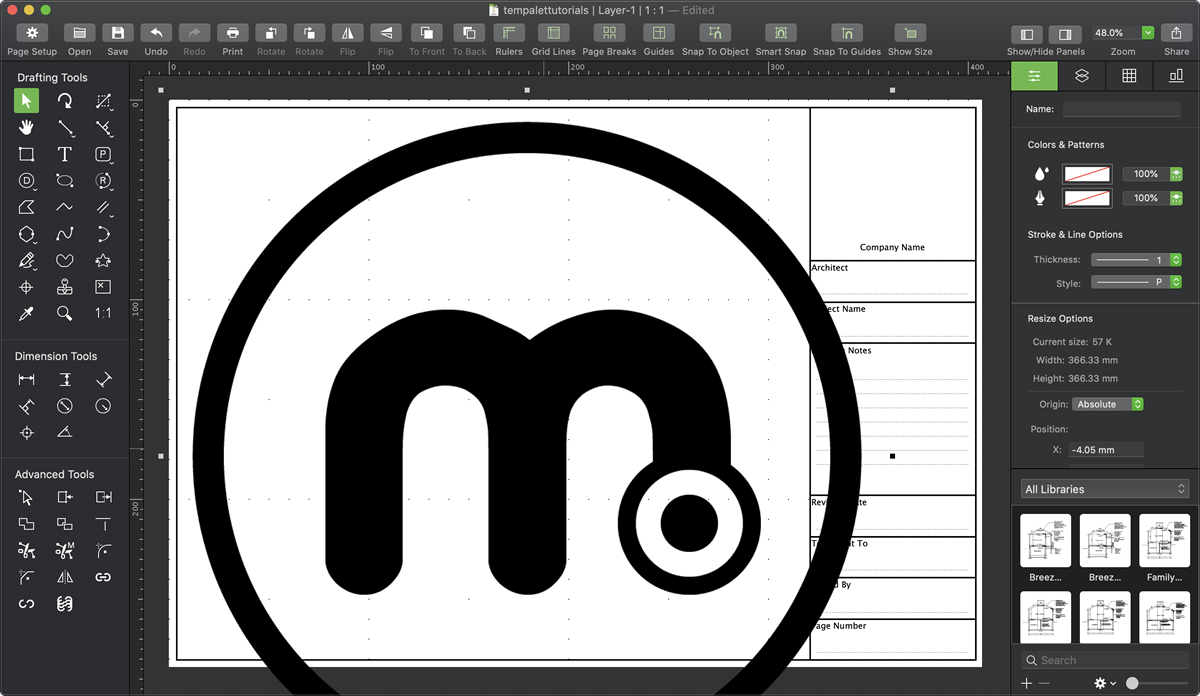
- Go to File > Import Image... A popup will appear asking you to pick an image to add to your document, do so and click OK.
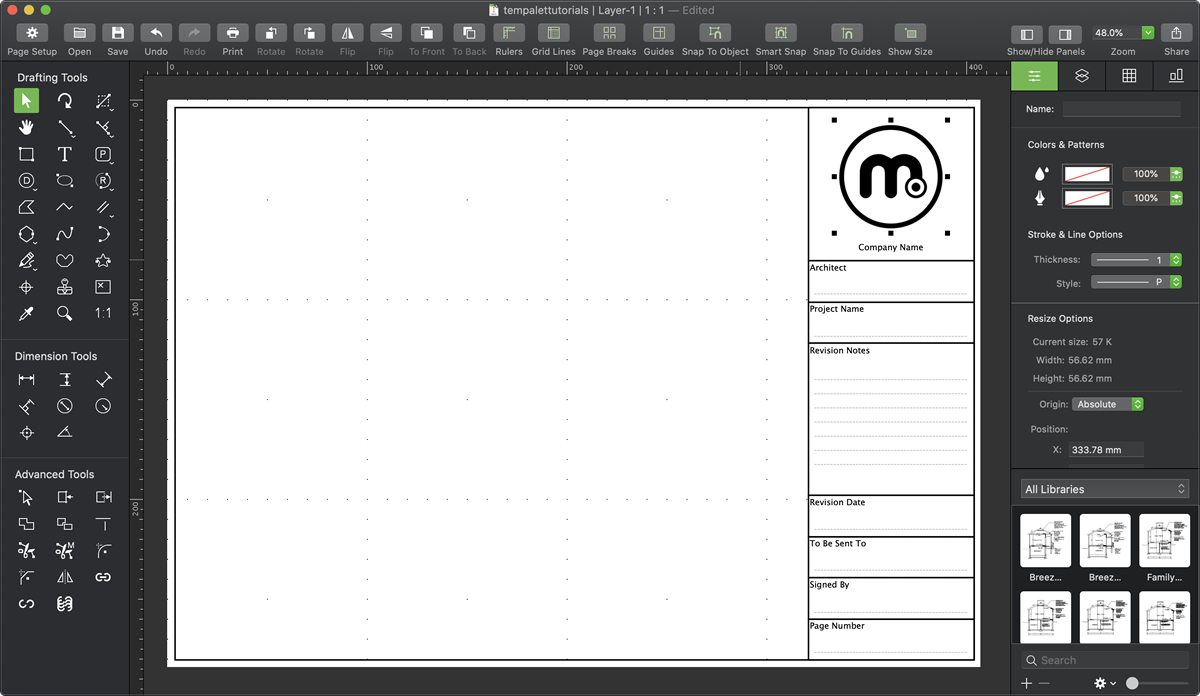
- If you have a high resolution image it is likely to come in very large as it has in the image above. Select it and then resize it by dragging its handles, if you hold the shift key it will constrain to keep the original shape. Resize the image to the correct size and put it in your desired location.
Step 7 - Saving your template
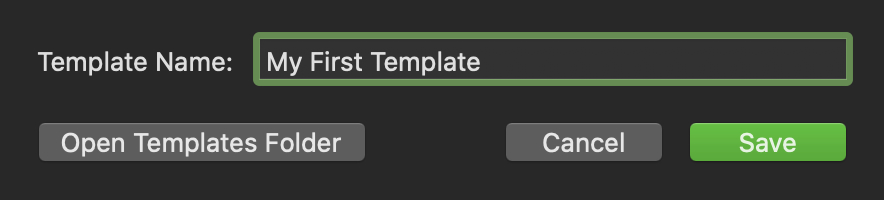
Templates are saved within MacDraft’s folder structure so that they appear in the My Templates section when you choose a new document. To save a new template simply go File > Save as Template... then choose a name and hit OK.
Step 8 - Using your template
The best thing about templates is that you can use them as blank sheets, make edits, draw new sheets and when you save them it creates a new document so the template is never saved over. This means that when you load the template again it will be blank and ready to use.
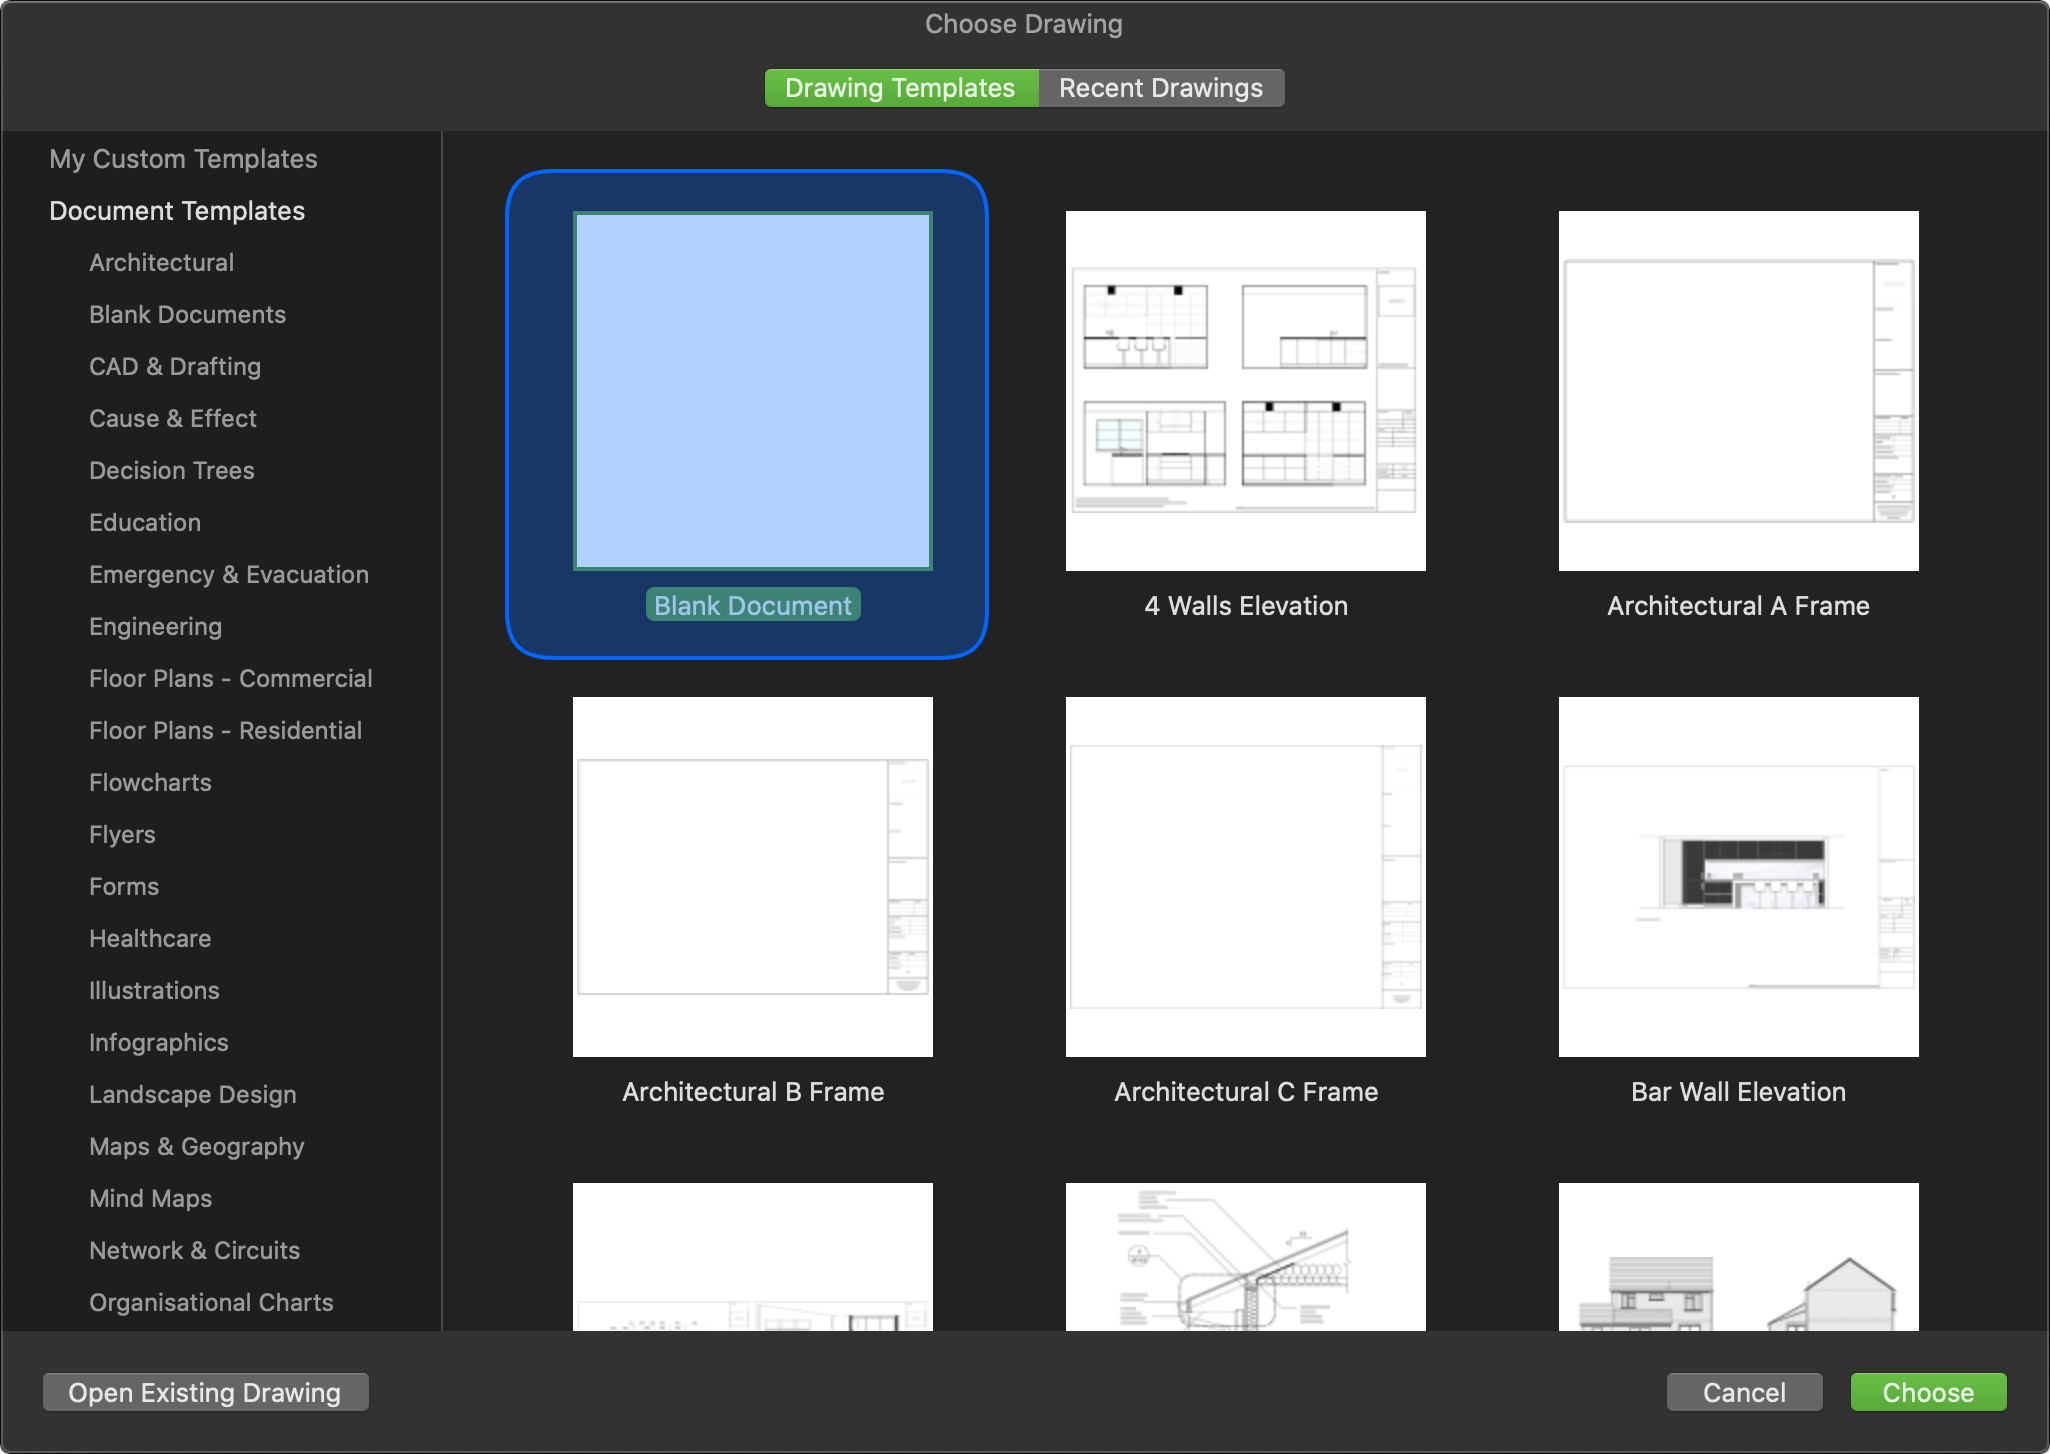
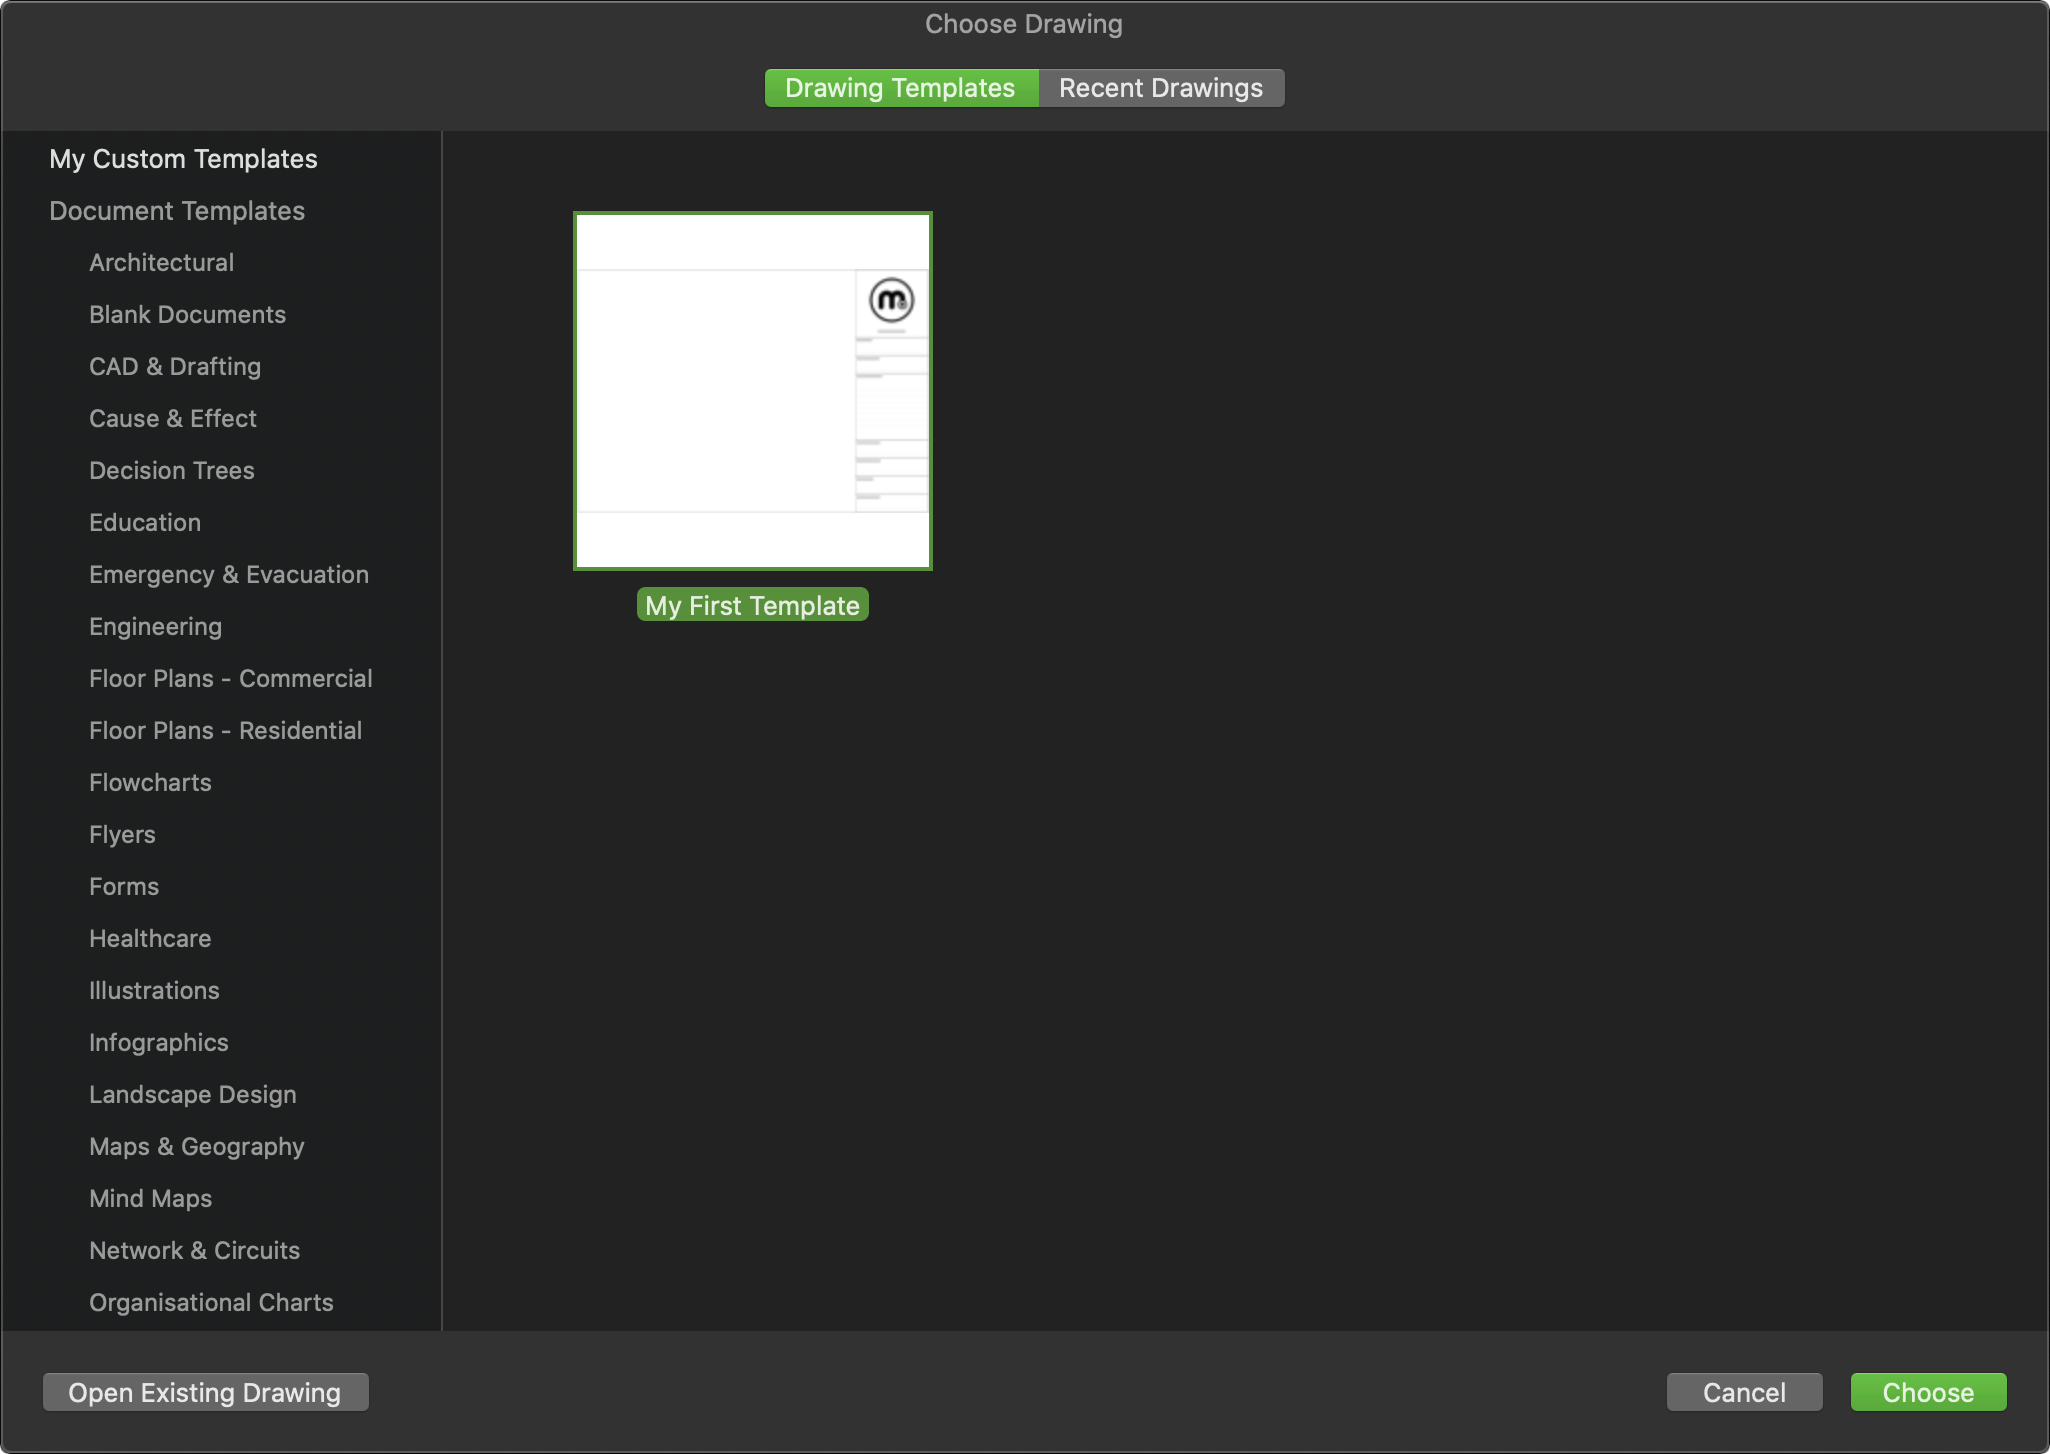
- Run MacDraft and click the Create New Drawing button, in here select theMy Templates category on the left.
- In here you will find our created document. Open it and get to work! When you are ready to save your project do so in the normal way (File > Save...) not save as template. This will create a new document and leave the original template intact!
Advanced step (MacDraft Pro users only) - Load your template by default
If you are running MacDraft Pro you can have MacDraft always launch with your custom template open. This is a very powerful feature for those who will be needing to constantly be using the same template sheet.
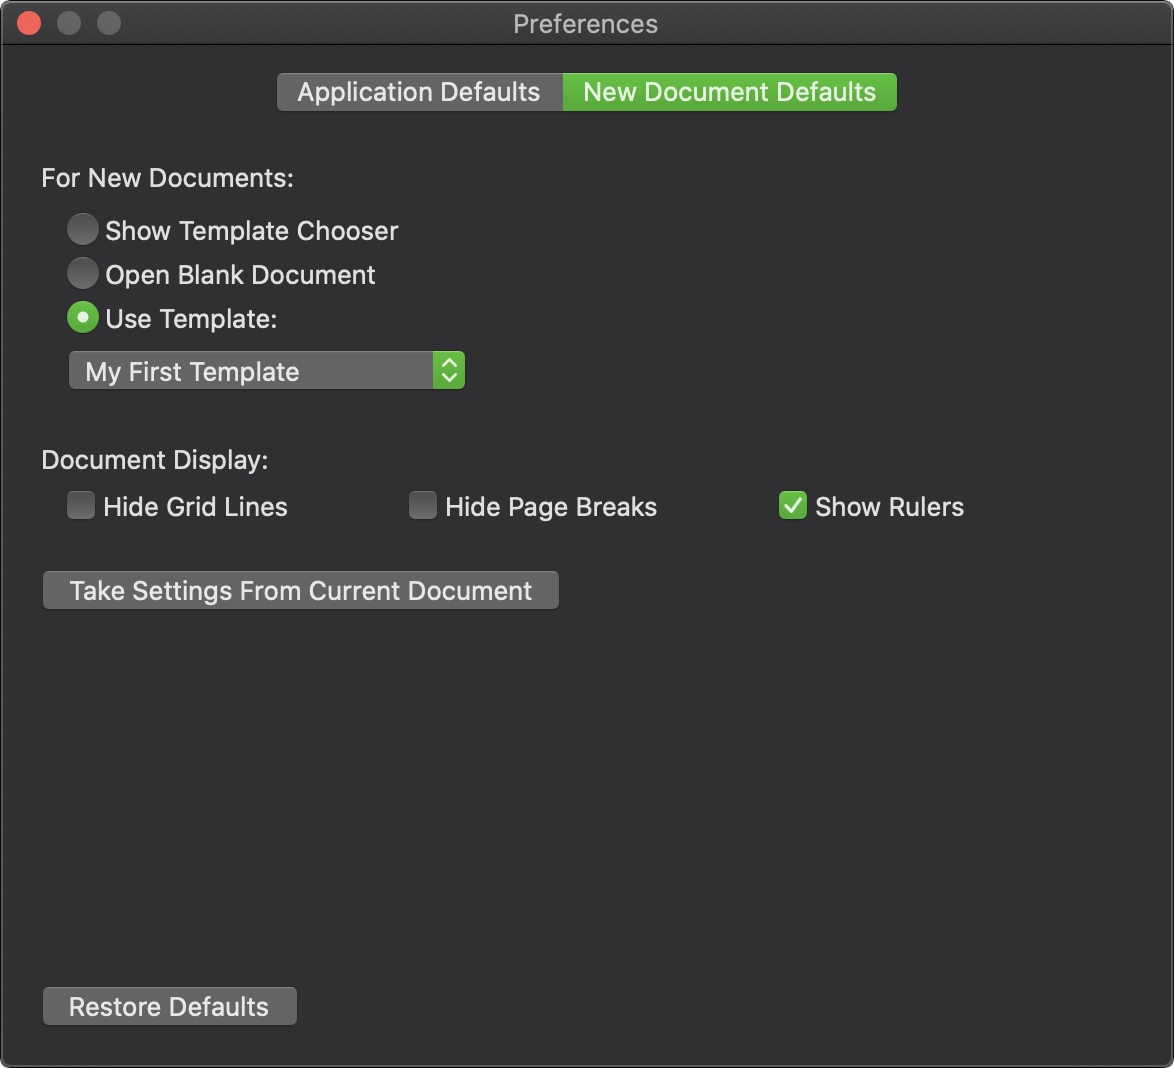
- To do this simply go to MacDraft Pro > Preferences... then choose the New Document Defaults tab. In here under the For New Documents: heading click the Use Template radio button and choose the template from the popup menu.
- Now whenever you go File > New or CMD + N to create a new document your template file will be loaded.
Summary
So with this tutorial you should now be familiar with creating, saving and using your own custom document templates. Experiment with the skills you have learnt and create your own more complex and imaginative templates.